

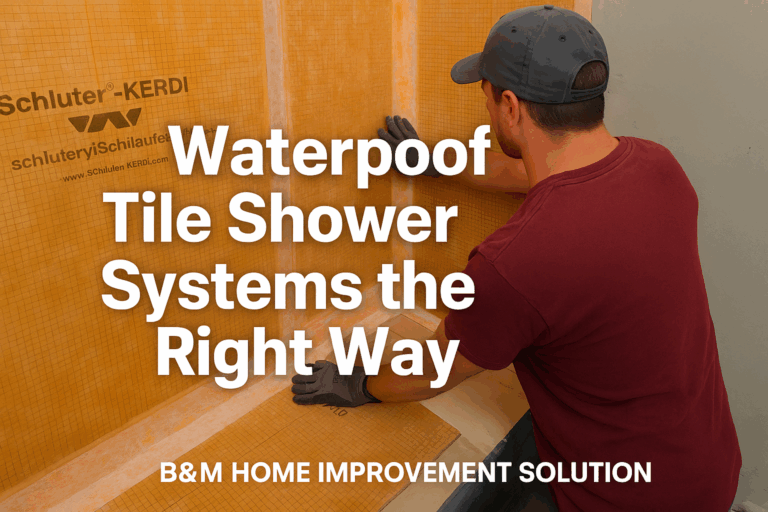
How We Waterproof Tile Showers the Right Way at B&M Home Improvement Solutions
When you choose a custom tile shower, you’re making a significant investment — but without proper waterproofing, even the prettiest tiles can hide costly failures: mold, rotted framing, or worse.
At B&M Home Improvement Solutions, we follow the highest standards for waterproofing, with Schluter systems as a foundation and proven techniques for lasting protection.
Why Waterproofing Is Critical
Tiles and grout are porous, meaning water seeps through them. Without a durable waterproof layer behind, moisture is trapped — often leading to mold, decay, and structural damage over time
We see it often: old tile showers with hidden rot behind the walls. Our goal is to prevent that entirely, using systems that offer lifetime warranties when installed correctly.
Three Proven Waterproofing Systems We Use
- Schluter-KERDI Foamboard System
- Lightweight insulation and waterproofing in one
- Pre-formed shower pans interlock with walls
- Quick install with thinset and joint sealant
- Excellent for fast, flat wall surfaces
- Schluter-KERDI Sheet Membrane
- Bonded over Mold resistant Drywall, cement board, or mud beds
- Ideal for custom pans and unique drain layouts
- Offers superior crack protection and vapor barrier
- Liquid-Applied Membranes (e.g., Laticrete Hydro Ban)
- Applied like paint for corners and niches
- Perfect for spot waterproofing or hybrid systems
- Less prep than sheet systems, but best combined with sheet or foam
How We Choose the Right System
Project Type | Recommended Waterproofing |
Prebuilt shower replacement | Foamboard KERDI system |
Custom mud-bed + tile | Sheet membrane over pan and walls |
Hybrid design or window niche | Foamboard walls + sheet in pans + liquid in corners |
We select based on your design, space, and lifestyle — always ensuring full Schluter warranty eligibility.
Step-by-Step Waterproofing Process at B&M
- Pre-measure & plan layout — exact drain, niche, and wall paneling.
- Install foamboard or cement board framing.
- Bond sheet membrane: Apply thinset, press KERDI membrane, tape seams.
- Apply liquid membrane on edges: corners, niches, drain connections.
- Check for line flattening: trowel out ridges and smooth bubbles — 100% adhesion required.
- Cure time, then flood test pan: validate waterproofing before tiling.
- Final tile install, joints sealed with premium silicone.
Why Our Ramp-Up Matters to Homeowners
- No surprises — we flood-test, so leaks are caught early.
- Flexible options — choose from foamboard systems to luxury tile setups.
- Lifetime warranty coverage — done exactly the manufacturer’s way.
- Local expertise — we’re licensed installers serving Lancaster & York.
FAQ Highlights
Do I need waterproofing everywhere?
Yes — any wet area needs proper waterproofing. Dry areas do not.
Which works best for large tiles?
Foamboard gives you straight walls fast; sheet membrane provides extra crack resistance
Is testing truly necessary?
Absolutely — every job gets a 24-hour flood test before tile. It saves you damage and rework later.
Your Shower, Protected Inside & Out
Every B&M tile shower uses Schluter or Laticrete waterproofing, routine inspection, and a manufacturer-approved install method — so your beautiful new tile is also completely leak-proof and built to last.